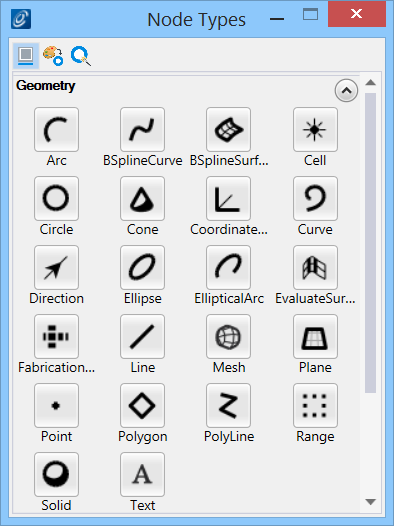
The Node Types Dialog
Contains node icons of all available node types and their techniques you can use to model a design.
By default, when a file is opened to start a session, the Node Types dialog is open and docked to the left side of the application window. The tabs at the bottom of the docked dialog allow you to view dialogs docked behind the active one.
To create a new node, click one of the node-type icons; an instance of that node type will be placed in the graph. Alternatively, we can use the mouse to drag-and-drop any of the node icons onto the graph; this lets us place the node instance where we want it.
Techniques define how a node is created and its dependencies. Normally, if we want to change a node's technique, we do so after we've placed the node instance in the graph. However, alternatively, we can select the technique before we place the node, by right-clicking on the node icon and selecting a technique from the pop-up list.
After we place the node in the graph and select its technique, we can change the node's name, if we want to, by clicking on its name.
Then, we can enter input values (expressions) for the node's properties, either by entering those values directly on the node's input ports or by double-clicking the node to open the Node Properties dialog.